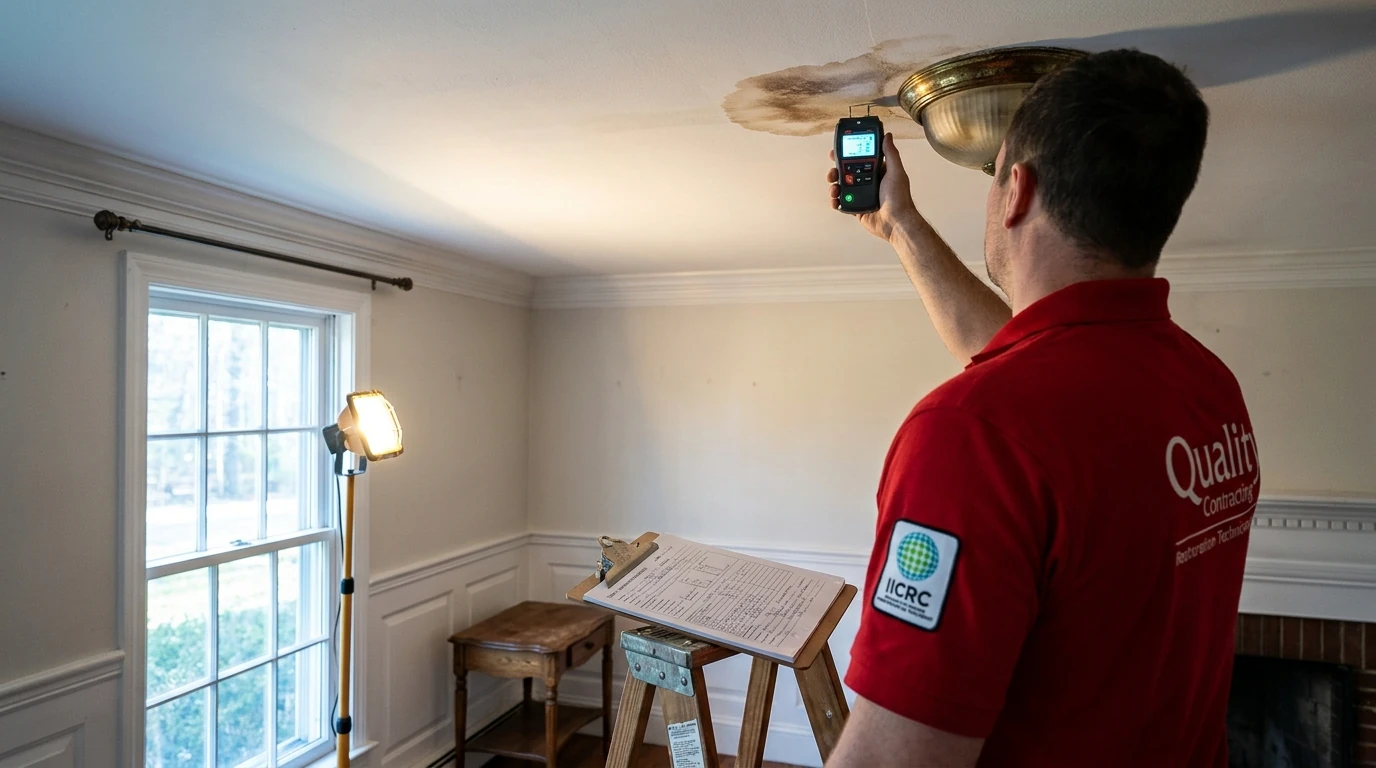
TL;DR: Fixing water damage on a ceiling means drying the area completely first, then cutting out any soft or bulging drywall, treating the framing, sealing the stain with a stain-blocking primer, and patching with new drywall or joint compound before repainting. A brown stain alone is often safe to patch yourself. A sagging, bulging, or actively dripping ceiling is a structural and electrical hazard that needs a professional water damage assessment before anyone touches it.
If you just noticed a yellow-brown ring spreading across your ceiling drywall, or the paint is starting to bubble under a soft spot, you’re trying to figure out two things at once: can I patch this myself this weekend, and is there a bigger problem hiding above it. Both questions matter, and the answer depends on whether the ceiling is just stained or whether it’s actually sagging under weight. Here’s how to tell the difference, and what the repair looks like either way.
How do you fix water damage on a ceiling?
You fix a water-damaged ceiling by confirming the source is stopped and the area is fully dry, then cutting out and replacing any compromised drywall, sealing the stain, and repainting. Skipping the drying step is the single biggest reason ceiling patches fail within a year.
The process in order:
- Stop the source. Shut off the supply valve to the fixture above, or confirm the roof leak or ice dam has been addressed. Patching over an active leak just hides it temporarily.
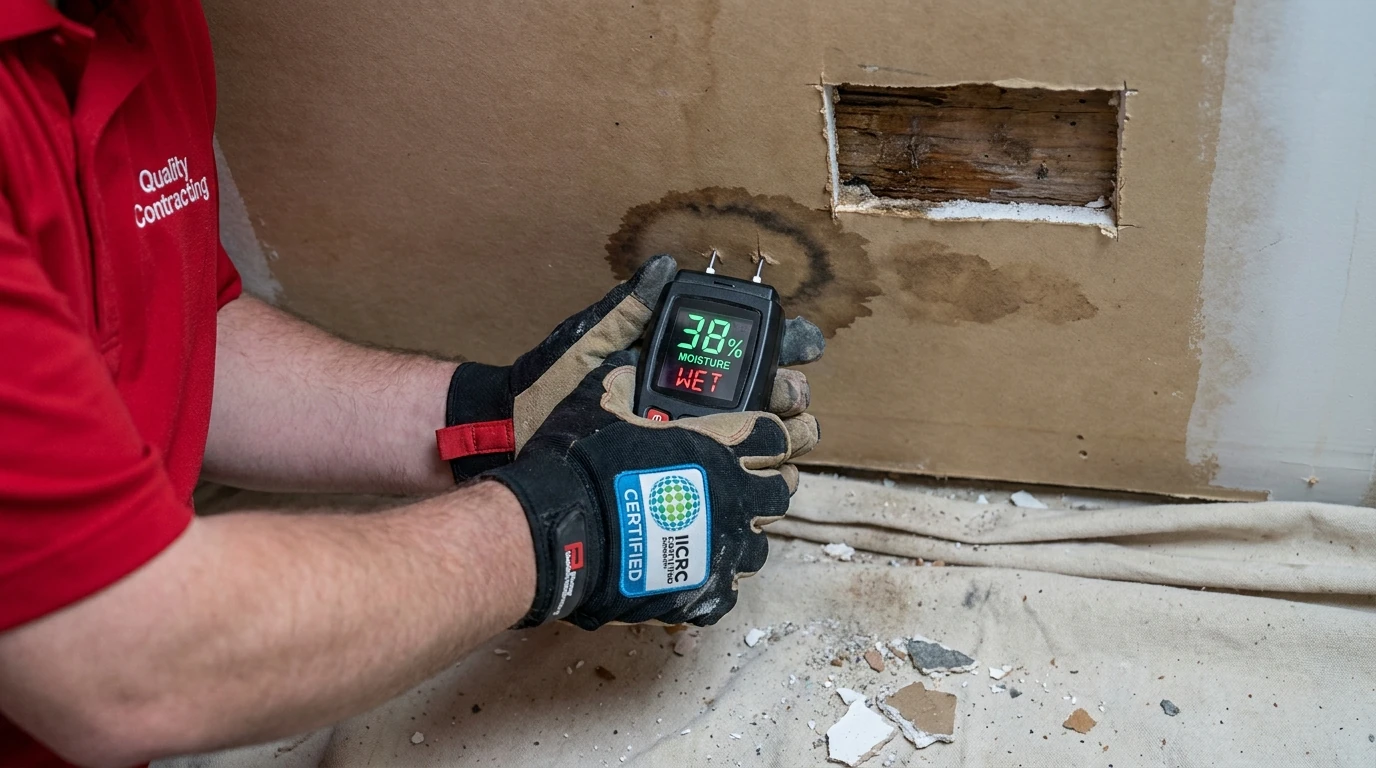
- Dry the cavity, not just the surface. Drywall ceilings hide a lot of moisture in the paper facing and in the framing above. A moisture meter reading on the drywall and the joists tells you when it’s actually dry, usually 2-5 days with air movers and a dehumidifier running, longer in an unvented attic cavity.
- Cut out anything soft, discolored through the full thickness, or bowed. A small brown ring on otherwise firm drywall can sometimes be sealed and painted over. Anything soft to the touch, sagging, or crumbling at the edges has to come out.
- Check the framing above the cut. Wood that’s still damp, or shows soft spots, discoloration, or early mold growth, needs to dry and may need an antimicrobial treatment before you close it back up.
- Prime with a stain-blocking, shellac- or oil-based primer (not standard latex primer, which lets the tannin stain bleed back through within weeks).
- Patch, tape, mud, sand, and repaint to match. For larger cutouts, a full drywall patch kit; for small stains with sound drywall, two coats of stain-blocking primer plus ceiling paint is often enough.
Cost scales with how much has to come out. A single stained patch that gets primed and repainted runs on the low end; a cutout that exposes wet insulation, damaged framing, or a wider wet zone from a slow roof leak runs significantly higher once drying equipment, drywall replacement, and repainting the full ceiling plane are involved. Our water damage restoration cost guide for Massachusetts breaks down typical ranges by scope.
What causes a brown stain on a ceiling?
A brown or yellow ceiling stain is almost always tannins and minerals from water leaching out of wood framing, insulation, or old roofing material as the area dries, not the water itself (which is clear). The stain’s shape and location point to the source.
A stain directly under a bathroom or upstairs laundry usually traces to a supply line, drain, or shower pan leak. A stain near an exterior wall or along a roof slope, especially one that only shows up after storms or snow melt, usually traces to roofing, flashing, or an ice dam. A stain that keeps returning after you’ve repainted it means the source was never actually fixed, just covered.
If you’re also seeing damp drywall on the walls below the stain, or soft spots near outlets, that’s often a sign water tracked down inside the wall cavity, not just the ceiling. Pressing gently on the drywall (never near an outlet if it’s wet) and checking for give, plus a moisture meter reading, tells you more than a visual check alone. Our post on the first 24 hours after water damage walks through documenting a fresh leak for your insurer before you start any repair.
Is a sagging ceiling after a leak dangerous?
Yes. A sagging or bulging ceiling means water has pooled above the drywall and the material is holding weight it wasn’t built for, and it can collapse without much warning. This is not a patch-it-yourself situation.
Signs that mean stop and call a professional rather than reach for a utility knife: the ceiling is visibly bowing downward, there’s a soft bulge that gives when pressed, you can hear dripping inside the ceiling cavity, or there’s standing water weight you can see moving the material. If there’s a light fixture in or near the sagging area, treat it as an electrical hazard too, water and ceiling-mounted wiring are a bad combination, and the breaker to that circuit should be shut off until it’s inspected.
The safe move with a bulging ceiling is to place a bucket if it’s actively dripping, clear the room below, and get a professional assessment before the material is disturbed. A controlled release of trapped water through a small test hole is sometimes the right call, but that’s a judgment made on-site with the framing and electrical visible, not a weekend DIY step.
Why do Massachusetts ceilings leak after ice dams?
Ice dams back meltwater up under roof shingles and into the ceiling below, and in Central Massachusetts they’re one of the most common sources of a winter ceiling stain that shows up with no obvious leak anywhere else. The dam forms at the roof edge when attic heat melts snow higher up the roof, and the runoff refreezes at the colder eave, backing water up under the shingles.
That backed-up water finds its way through roof sheathing seams and nail penetrations, then tracks along the attic floor or rafters before it shows up as a ceiling stain, often a room or two away from where the ice dam actually formed. That’s why ice-dam ceiling damage can be confusing to diagnose from inside the house alone, the wet spot on the ceiling doesn’t line up with where the water actually entered the roof.
If a ceiling stain appears during or shortly after a snow and thaw cycle and there’s no plumbing above that spot, ice damming is the first thing to check, along with attic insulation and ventilation, since poor attic ventilation is usually what let the dam form in the first place.
Do you need mold remediation after ceiling water damage?
Mold can start growing on wet drywall and framing within 24 to 48 hours, so any ceiling leak that sat wet for more than a day or two, or any area with visible fuzzy growth or a musty smell, should be evaluated before it’s just painted over. The EPA’s mold cleanup guidance is a useful baseline: small areas under about 10 square feet can sometimes be cleaned with the right precautions, but anything larger, anything in HVAC-connected cavities, or any area where you’re not sure how long it was wet is worth a professional look.
With ceilings specifically, the concern is what’s happening above the drywall where you can’t see it, insulation and framing that stayed wet inside a closed cavity are a much better mold environment than an open, ventilated room. Our posts on signs of hidden mold and how to test for mold cover what that looks like and when a DIY test kit is enough versus when you need air sampling.
What should you do next?
If the stain is small, dry, and on sound drywall with a confirmed and already-fixed source, a stain-blocking primer and a patch kit from the hardware store is a reasonable weekend project. If the ceiling is sagging, the source isn’t confirmed stopped, the area’s been wet more than a day or two, or you’re not sure what’s happening in the cavity above it, get a professional assessment before you cut into anything.
QCI Restoration handles the full scope under one roof: moisture assessment, structural drying, mold evaluation if the exposure window calls for it, the drywall repair itself, and the repaint, all coordinated with your insurer’s documentation requirements. That’s the idea behind One Call Does It All, one phone call covers the mitigation, the mold check, and the rebuild, so you’re not managing a roofer, a drywall contractor, and a painter separately on top of an insurance claim.
A stained or sagging ceiling is rarely just a cosmetic problem. It’s a readout of what’s happening in the cavity you can’t see, and the repair only holds if that cavity gets dried and checked before it gets covered back up.
About QCI Restoration
QCI Restoration serves Auburn and Central Massachusetts, including Worcester, Shrewsbury, Westborough, and the surrounding Greater Worcester area, with rapid-response disaster restoration. Their crews handle water damage restoration, storm and roof damage, mold remediation, and the full reconstruction that follows, coordinated under a single point of contact so homeowners aren’t managing multiple contractors on one loss.